Painting on Vintage Postcards
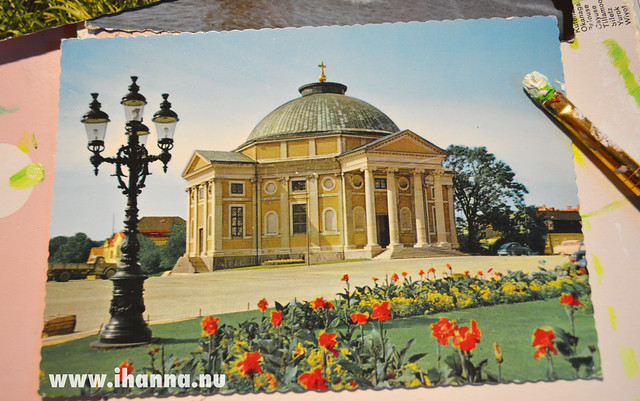
This summer I bought a whole pile of vintage postcards (not ever sent though) with motifs from around Sweden. You know the kind, postcards of buildings that might be bought as souvenirs but always are so darn boring to get in the mail… No colors, no life, no humor – but these had something else going for them. All of them have these awesome deckled like edges! And the backside paper is kind of yellow from age. I love those two features, so I decided to re-purpose them into new postcards for my DIY Postcard Swap (your can still sign up to join)!
I got the idea a while back from Tina Jensen, who joined my postcard swap last year. She sent me a beautiful white postcard with white lace and a shabby chic vibe to it – totally made from a vintage postcard! I loved her idea, and wanted to try it out on my own…
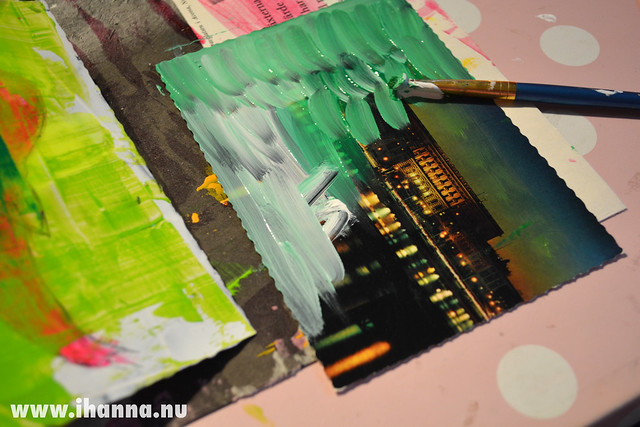
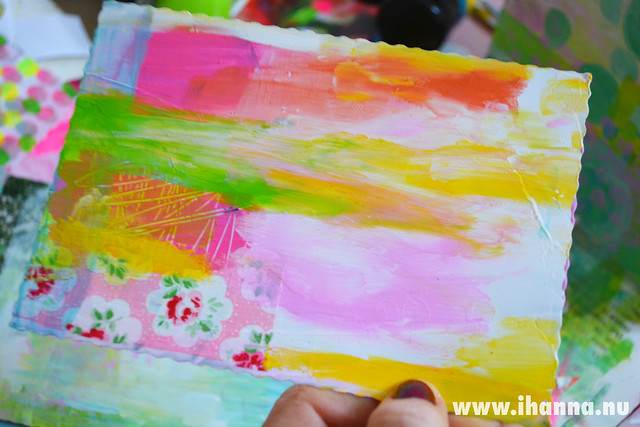
I brought out my acrylic paints, and started to slap on paint. I wanted them to be colorful and crazy, like me, but I forgot to buy new gesso so I had to first cover the surface image with white paint. The first few I made got totally covered in paint. Then I had a feeling that some of the photographic motives should be “saved” and left to peek out of the paint…
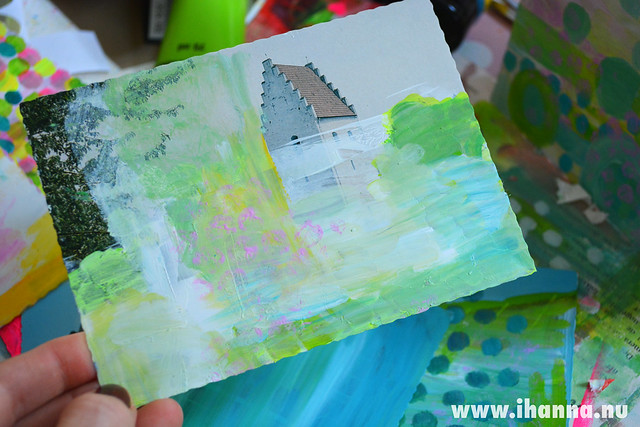
 It got a bit messy, and right now I’m not sure I like any of the postcards I got going… They’re all a mess. Keep some of the motif, or add more paint? Create patterns, or let them be simple color explosions? Feel free to give me advice!
This weekend I will try to get some more painting time in, and see what I can do to rescue these darlings. And like I said, you’re most welcome to join the DIY Postcard Swap and make your own awesome postcards to send out to the world. You can join whether you’re a mail art pro or a newbie at this stuff, we’re a friendly bunch. And I think the world needs your mail art right now!
Want to be notified when the next swap starts? Sign up for the iHanna Newsletter right now!

Thanks for your visit on my blog. Love your postcard idea, must try overpainting some of my ‘oldies’. Valerie
I like the idea of the image being left and woud probably paint over it and then wipe the paint away so the image looks as though it’s in a mist, more like a memory . . . and there must be quotes you could write on them that would fit. And while you can always yellow the backs with tea, coffee or diluted ink if they’re absorbent, the deckled edge looks great. Hmmm, dare I take to edges with my pinking shears . . . up to now they’ve been strictly for fabric!
Great idea!
I love this idea Hanna and I really like your cards. I do the same thing. I have been gelli printing this week and some of the sheets were “sort of, I don’t know, too thick with paint”. They are drying and I will either tear them up and use the pieces or store in my scrap box and see if I like them better another day! Thanx for the awesome idea.
Great postcards. You really know how to use color.
Seeing all of your pretty colors in your work, always inspires me. I love the way you left part of the image on the postcard, it looks awesome!
Yeahh Hanna – how great. I´m so glad you took up the idea.