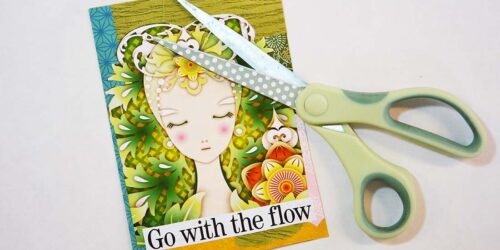
Get Started | Make a Postcard from Scratch
It’s time to make postcards, don’t you agree? Here I’m making a postcard from Scratch – Part 1: Getting started.
Making postcards is not difficult. Anyone can do it, and with a bit of effort, I think you’ll love the postcards you make yourself even more than store bought ones. They are more personal, more meaningful and more fun to send out because you’ve made them yourself.
If you’re feeling lost on where to start when making postcards, I thought we could get started together. It always feels more fun when you’re creating along with other creative souls, don’t you agree?
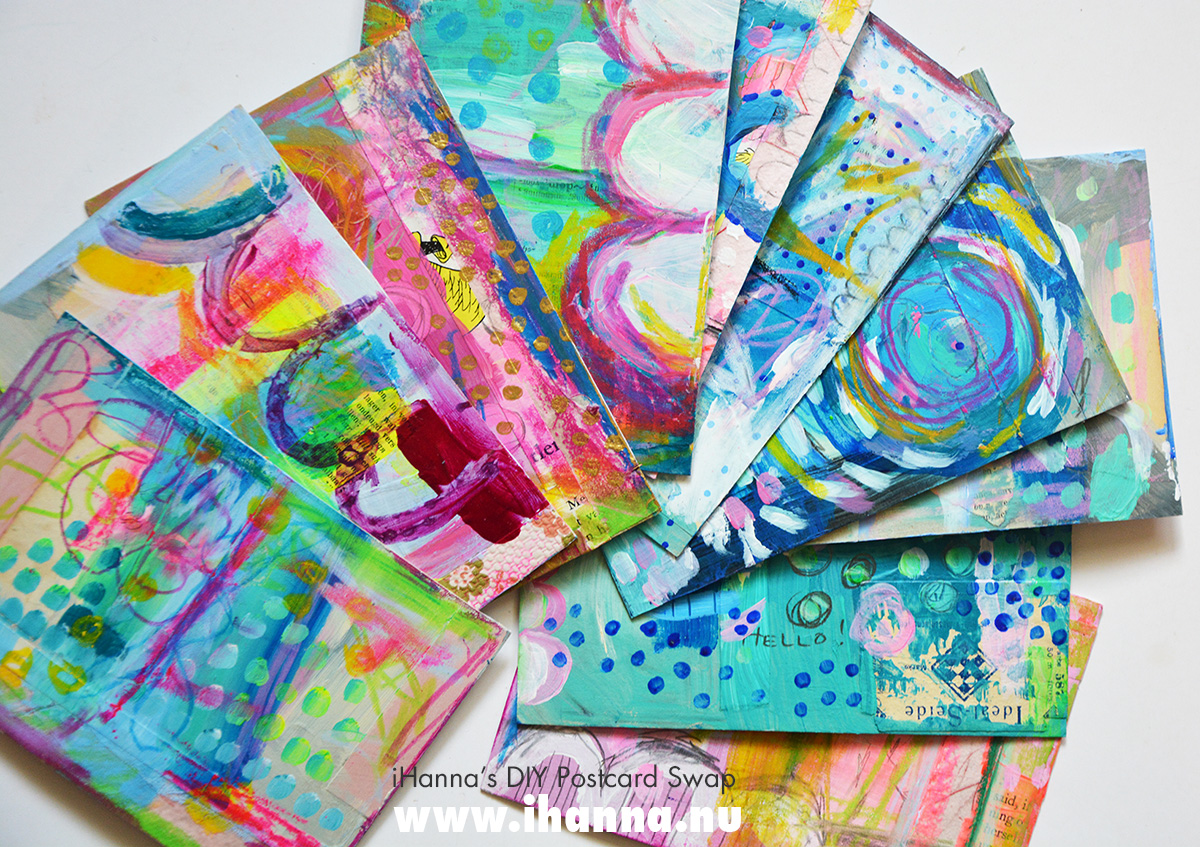
Since I always make my postcards for the DIY Postcard Swap, I make at least 10 each time, so it’s a bit of chore but I always push through to the end. I call this creating in a series, and it’s my favorite way to create. I love batching art. It puts less pressure on each piece you make to be perfect, and it makes the whole process easier as you work on all pieces in different stages.
So let’s get started, shall we?
First step: The Postcard Base
The first step is to find a canvas or a base to work on. You can work on a thin paper too, as long as you mount it on a sturdy backside so it can go through the mail system without being bent or torn.
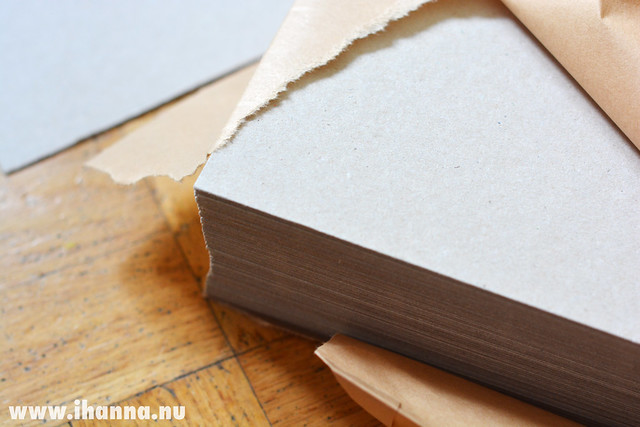
I usually use recycled boxes as my foundation, because it’s the cheapest material and easy to source (just look in the paper recycle bin under the kitchen sink). Plus, I love re-purposing trash. Cereal boxes are my favorite material (and pizza boxes).
This year I decided to go with papers from this pack of cardboard I bought online a few years ago. I cut it up and use it to make sturdy art collages on, but it also works for painting and making DIY Postcards.
Yay!
Size & numbers
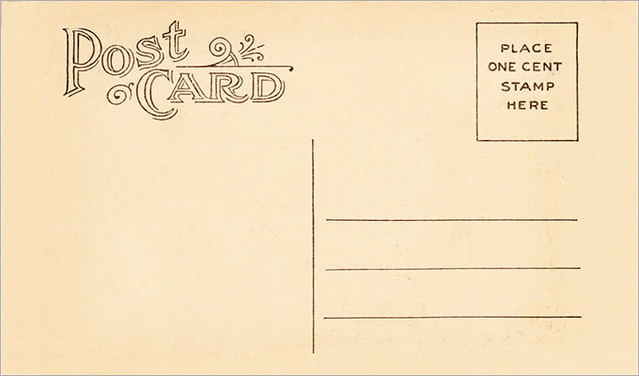
You can cut your postcard to size before you start, or work like I am this time on a big sheet of paper that I will cut it up later. A small postcard is normally 15,24 x 11,4 cm (6 x 4,5 inches), and that’s a great size to start with since it will fit the backside printable I provide.
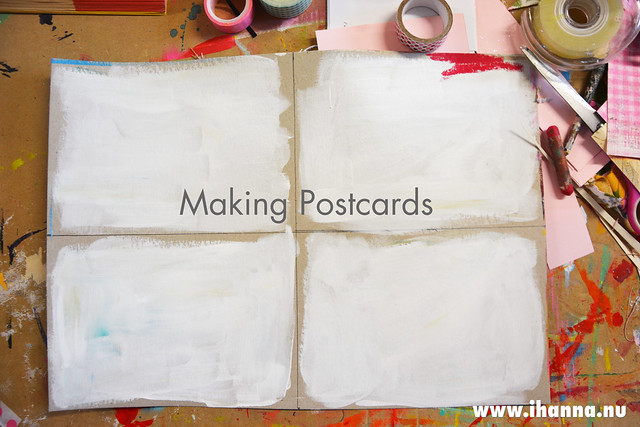
That said, I am making mine slightly bigger this year, dividing each paper into four parts without waste. That makes my postcards about 17,7 x 12,5 cm (6,9 X 4,9 inches). I don’t like to waste any paper, and I wanted room to paint and play on, so this is a good size for me.
I use a ruler and pencil to simply divide the paper I have into four parts, but keep them together so I can paint a cohesive background.
If you have questions on how to send a handmade postcard through the mail system, I’ve got a few suggestions in the FAQ, but you’re welcome to post any questions below and I’ll try to answer as best I can.
I like to make sturdy cards
To make the postcards even sturdier I add a layer of Gesso (a kind of acrylic paint that you use to prime canvases and other surfaces with). This white layer also makes it more fun to paint lighter colors, since painting on a white background lets each acrylic color come through more.
Then I leave the gesso to dry, and work on a few more papers. I think I will be filling three of these, making my total postcard count 12 originals. Ten to send in the swap, one to keep for me and one extra for mom or a friend.
I encourage you to make a few extras, not just for friends, but so that if you accidentally destroys (or hate) one of the postcards you make, you can just toss it out without having to start from scratch. That is, if you’re making 10 at the same time, like me.
You can still sign up for the DIY Postcard Swap – join now!
By the way, I think I kind of promised you, or was it just myself, that I’d give fabric postcards a try this time around?! But now I’m not feeling fabricy at all, so I’m scraping that idea as you might have guessed. The gesso base goes with… acrylic paint and mixed media! So I’m saving that fabric idea for later, maybe for another swap round.
Instead I’m diving straight back into painting. I painted a lot in a Book of Painting in the beginning of the year, and now I am longing to get back into it even more.
See you in part two of making a postcard from scratch. If you don’t want to miss any posts from this blog feel free to subscribe to blog posts via e-mail.

I’m getting so excited about this! I love gessoing my base and slapping down random paint to see where it all takes me!
Thanks Coriander, so glad you joined the swap for the fist time this year! I hope you’re having fun creating your postcards.
Yay! I am not behind! I finished my backgrounds on the weekend.
I didn’t think of gesso. Instead I collaged various sizes of paper using gel medium. I am using large index cards for my base.
Fun!
Thank you so much for your advice. I especially appreciated your remarks about the base of the postcard. Even though I participated in (and loved) the swap last year, I was very unsure as to what I should use for the base. I used cardstock, but I can now see that if you put much paint on cardstock, it will warp some. Anyway, I just now signed up and can’t wait to get started!
The swap is so much fun.I make postcards in my spare time. Alot of fun and easy