Tutorial | Pimp an Owl Notebook Cover
My much loved magenta diary is full and the new one is slick black, which at the moment feels too dark. I want pink, playful and fun, so I made a new cover for my new diary! And while making it for me I hope this tutorial I put together will inspire you to pimp your own notebooks, journal or diary!
It looks perfect for March and spring now… Bring it on! :-)
I’ve used my own background paper (scanned and then printed on laser printer) and my own illustration of an owl (watercolor painting from my Art Journal that I scanned, printed and cut out). You can use any thin paper you have around and add an image that speaks to you. Make yours your own. Here is a little tutorial to get you started….

Let’s get started
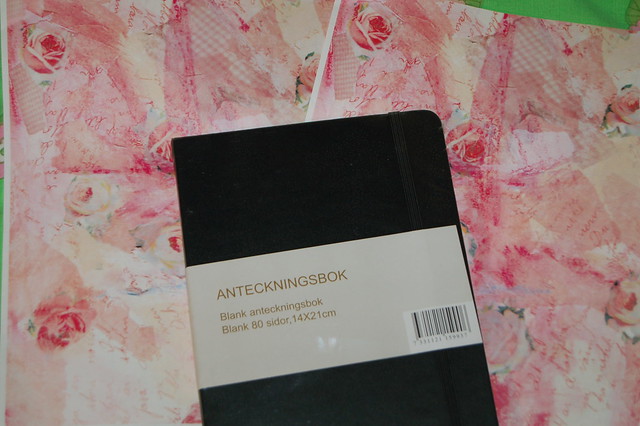
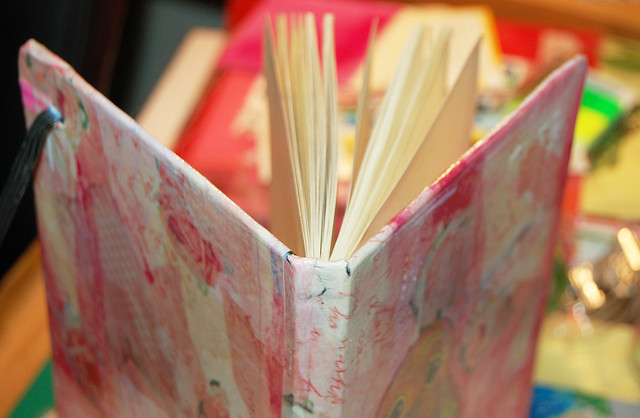
1. Find a cheap black notebook (found on sale somewhere) and two A4 sized papers that I printed from my own original background collages in pink. This notebook has yummy blank pages and one of those closing rubber bands, just like I prefer ’em!
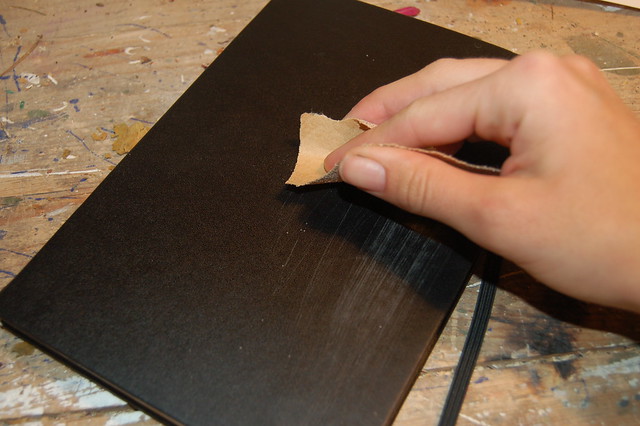
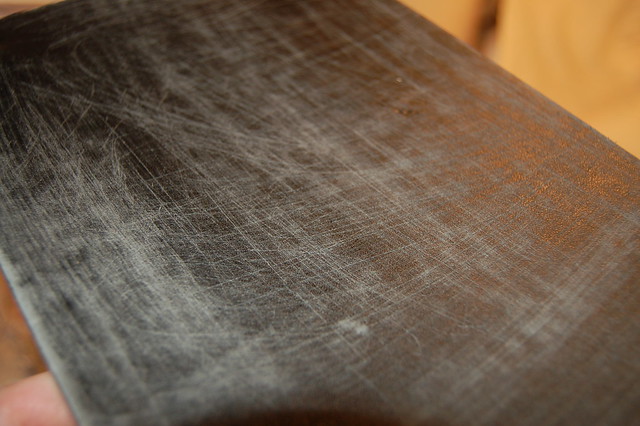
2. Last time some of the papers didn’t stick to the cover so this time I sanded the gloss down a bit so the glue could grip better.
What you need to pimp a notebook cover:
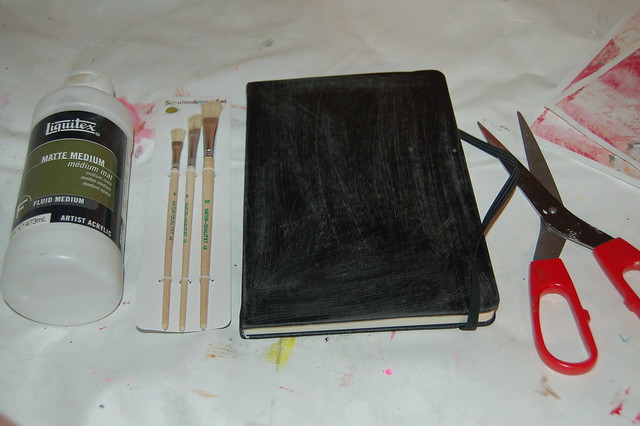
3. What you will need to pimp that notebook? Right, some pretty paper that you want to use as a cover, scissors to trim of edges and cut the paper to a manageable size, matte acrylic medium (as the glue) and a paint brush to apply the glue. Fun image to add last. Glossy varnish to finish it off.
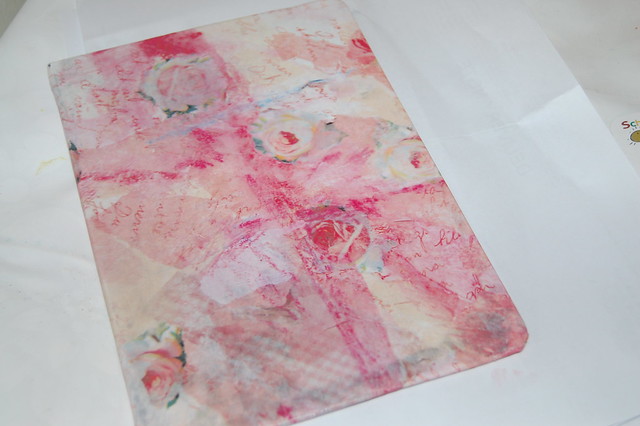
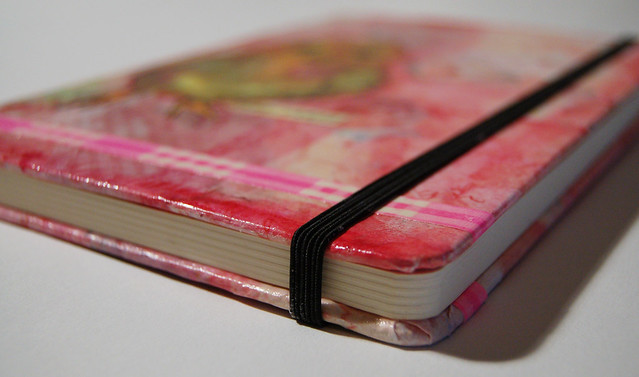
4. Cover the front with glue and press the cover down, get as many air bubbles out as you can. Cut away the corners and bend in one edge at a time. Be careful not to glue pages together though! You can be finished now, if you like it like this! Pretty neat! Mine is pretty and pink, but not very exciting right? Time to experiment a bit…
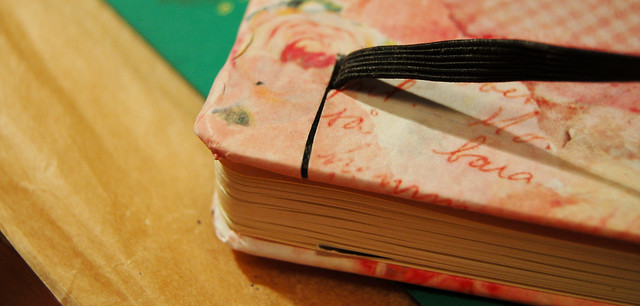
Well, what the shall we do about this? When I took a look at the back, where the rubber band is attached, I noticed that I didn’t do a very good job hiding the original black cover. Probably because the paper shrunk a bit. Blah-ugly and irritating.
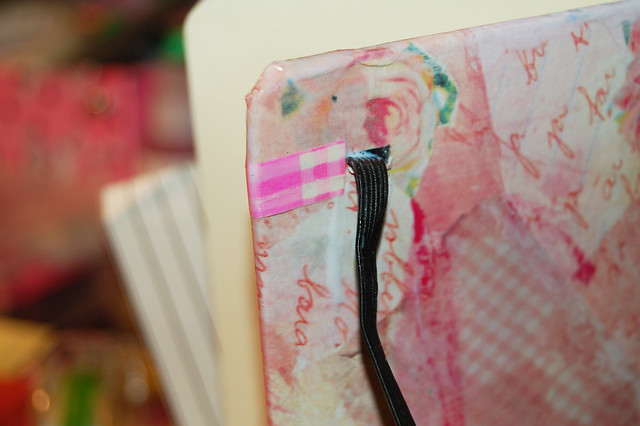
5. Fix “the glitch” with another piece of paper or ribbon. This pink one mom got at a flea market. She thought it was fabric and when I told her it was a plastic ribbon she gave it to me. Yay, I love this colour so much! I’ve been using bits of it in my Art Journal, on postcards and other projects.
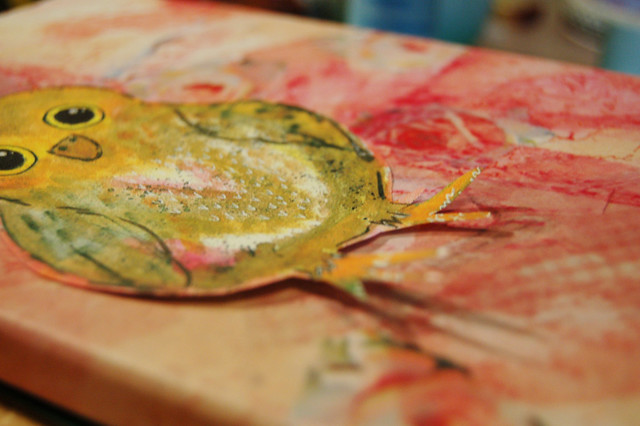
6. At this point I decided the pink was a bit to pale and this notebook needed something more… An owl right? Yes, a little baby owl (guggla) that I just painted in my ongoing watercolour Art Journal. I printed the scanned image and cut him out with sharp scissors.

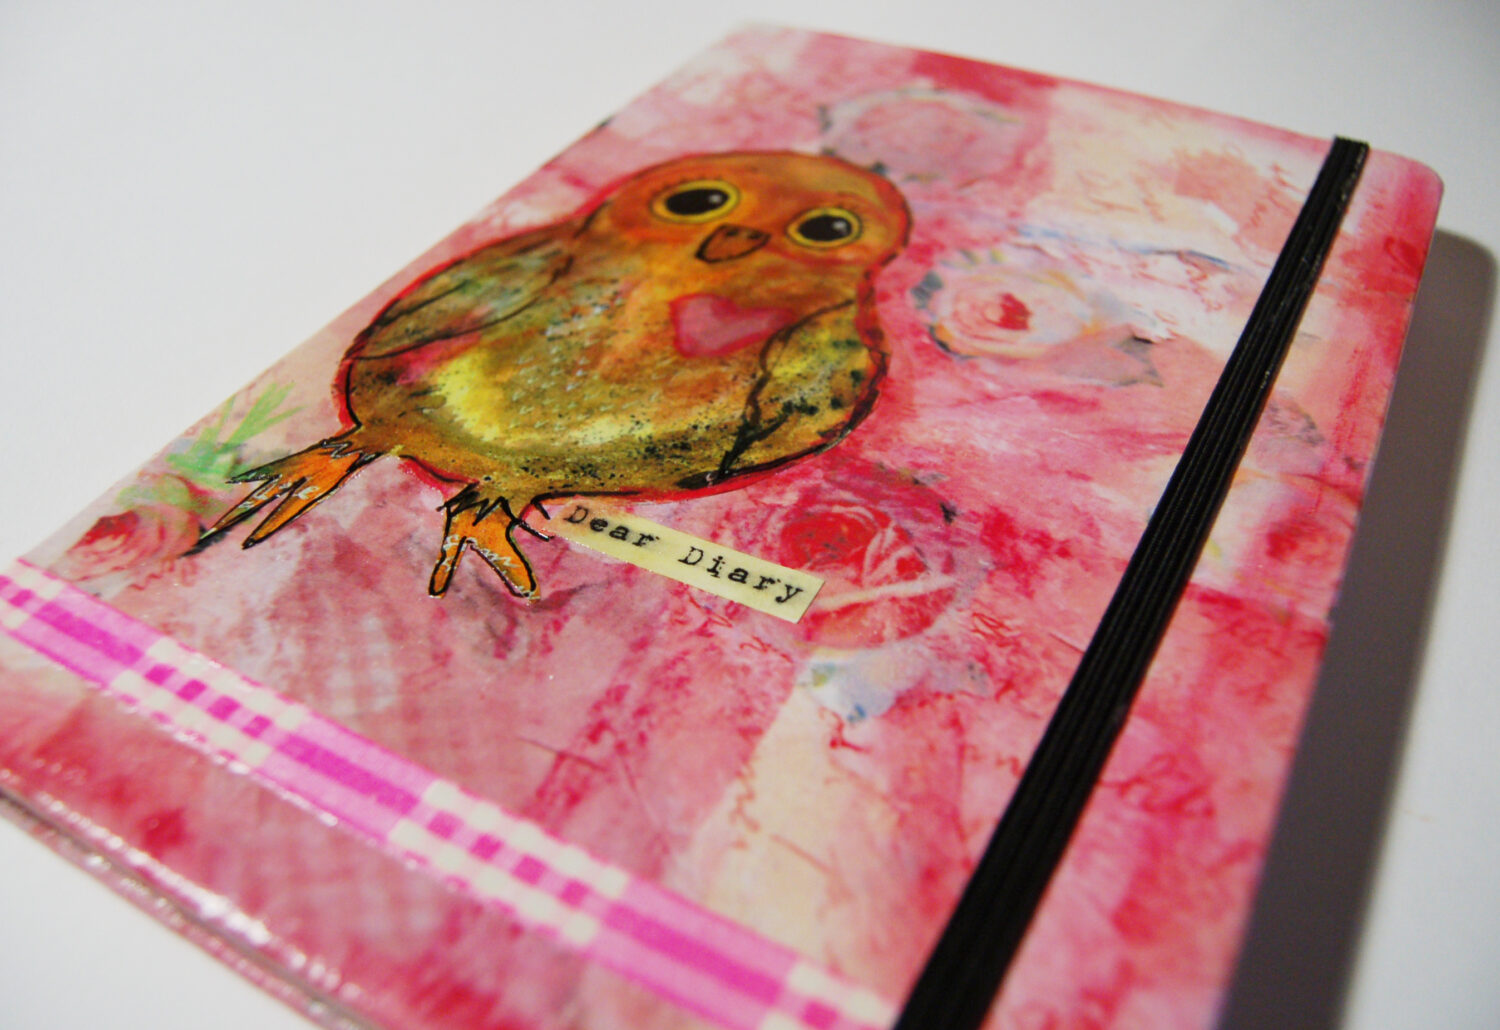
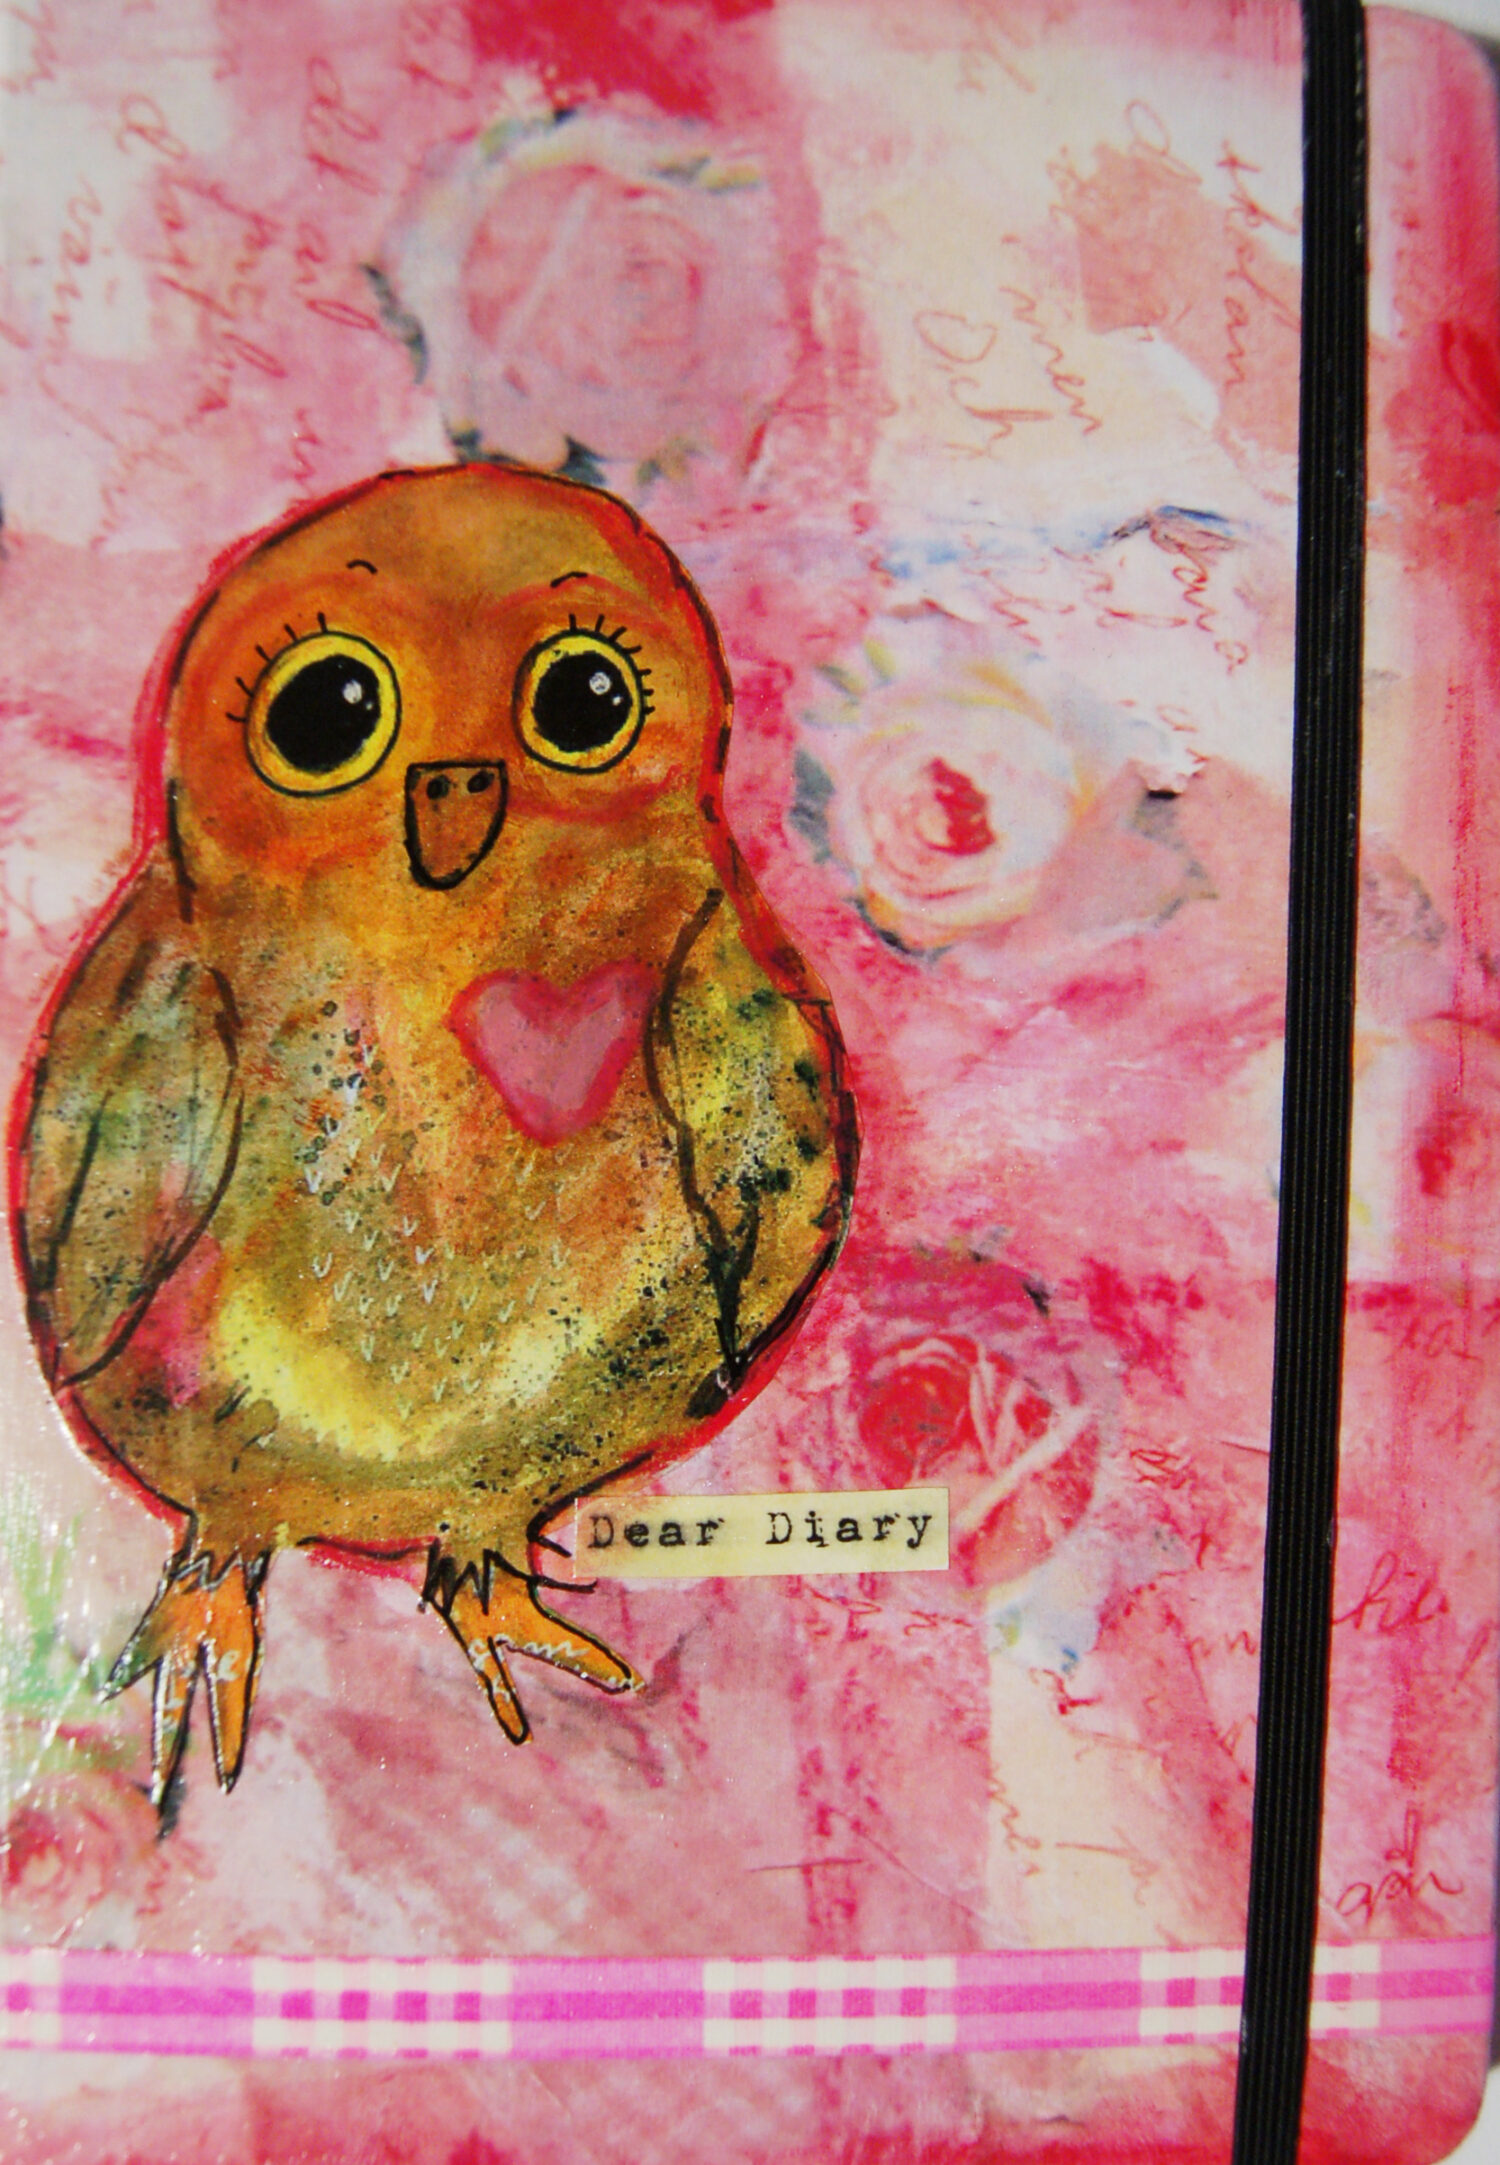
7. Once I had him glued down (add matte medium both to glue it down and on top of your image) I integrated him into the cover even more with pink crayon around the edges. I also added the words “dear diary” that I found in my stash and the plastic ribbon all around the front too. Lastly I varnished the whole thing with glossy decoupage glue (all I had on hand). That last layer will make sure it doesn’t get dirty or any edges rips when handled. Plus, it makes the whole project shine. I’m happy.
Finished!
It’s not perfect as you can see, but who cares. It’s pink. It’s personalized. It has a cute owl, roses and pretty pink ribbon. And potential. It’s mine and I like just fine.
Don’t forget to add an inside pocket!
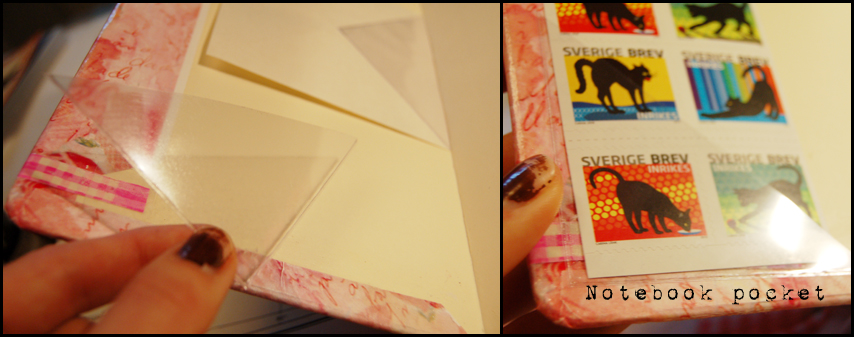
I love these adhesive plastic pockets in the form of a corner. I put at least one pocket in each new book, because I don’t want loose papers and clippings flying around when I take my diary up somewhere. Every notebook needs a least one pocket!
It’s a bit like the patchwork notebooks that mom and I made last summer (tutorial here). This one I’m calling the Owl Diary. Let me know what you make!
Check out my previous craft and art tutorials here.


I am tickled pink over here! A clever innovation….yet again.
A cute owl in a pink forest, today the sun is shining here and we
are all in the pink. Thanks for sharing. Pockets, yes…
This is so, so cute, I love it! Thanks so much for sharing the process, I’ll be linking.
Hoot hoot Hanna! Great notebook. Hope we can see some of what goes into it someday. Those corner pockets for the inner covers are genius. Happy creations from tj
Very cute hanna ! Love the hooty friend you added. So springy.
As always…just so very cool!
Very cool! I love the owl!
super cute and you clearly make it look easier than I think it is!
I love the colors (as always) and especially the owl! I hope we can see more of your watercolors in the near future.
This is awesome.
Thanks for the idea to sand the surface – hadn’t thought of that but it makes perfect common sense.
I beg to differ with you on the “perfect” score. I think taking the time to make exactly what you are in the mood for, is perfection in and of itself.
I know that I need my books to inspire me from the cover on in.
It’s all about creating joy in your life – which you seem to have an amazing knack for.
Thanks for sharing!
adorable! :) i love owls
I made mine with a squirrel that had an acorn that said dairy around the rim.
I love this idea and think I will have a go – the end result is so cheerful – perfect for making you smile :)
That baby owl is adorable! And what a great idea for a cover!
Bra ide! Var köper du det lilla plasthörnet du klistrar in?
Eva-Britt, tack!
F�r det mesta tillverkar jag fickor och h�rn sj�lv, men just det d�r �r nog k�pt p� typ Svanstr�ms skulle jag tro. De har tidigare haft en del olika varianter av visitkortsfickor etc. Prova d�r. :-)