How to keep Organized with a 365 Project
How to keep Organized, and stay organized, with a Creative 365 Project of some sort, for the entire year. Start out strong, and keep going that way.
Promising your creative readers a post with organizational tips might be like promising to send out packages of free gold nuggets… I can see the glimmer in your eyes, because I am the same. I love learning how others organize their stash, materials, studios, and lives. Always hoping for that last piece of advice that will make organization feel like a breeze. But, except for tidying after every session, there is no advice that will make everything easy-breezy, no quick fix for having a clean desk and always finding what you’re looking for… At least I don’t think so. It’s work, people!
In this post I am going to talk a bit about what worked, and didn’t work, for me when it comes to my 365-project!
Get ready on time
I think the most important thing to keep going and be inspired for a whole year is to plan your project before you jump in. That’s why I have been writing this series of posts right now, before the year ends. I wanted to give you some time to think about it before the 1st of January. But really, you can start any time during the year, it does not have to be the first week of the year, even though to me this felt most right for me. I am a fan of January starts.
Also very important: state (out loud to the world, in the comments below or on a note on the fridge) what you want to accomplish and stick with that promise to yourself!
Being ready also means Being Ready Each Week. I feel the happiest, and most calm, when I have taken the time to cut substrates to size before the previous pile of square papers run out! When I was just a tiny bit ahead of schedule, maybe one or two collages already made for “next week”! It’s a beautiful feeling that I wish more of!
Even if you don’t need to do this kind of preparation (cutting papers to work on) for your personal project, you still need to be ready in your space, in your mind – and with what ever materials you will need. Creating on a time table is only fun and inspiring when there is no stress involved. Make sure it stays fun for the entire year.
Batch it up, if you can
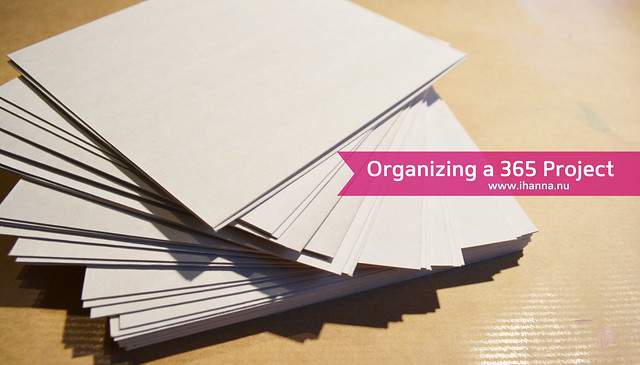
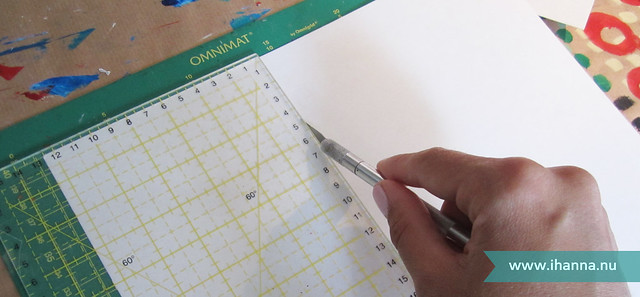
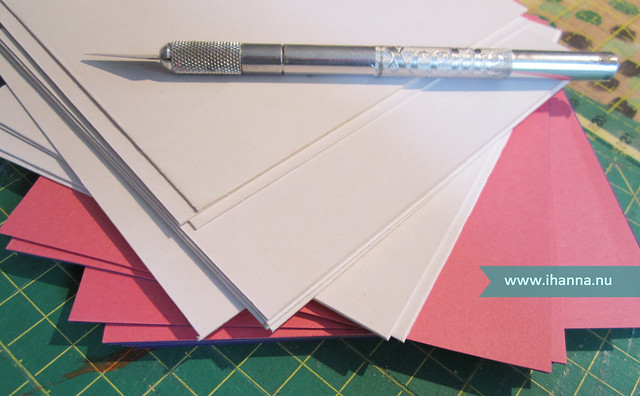
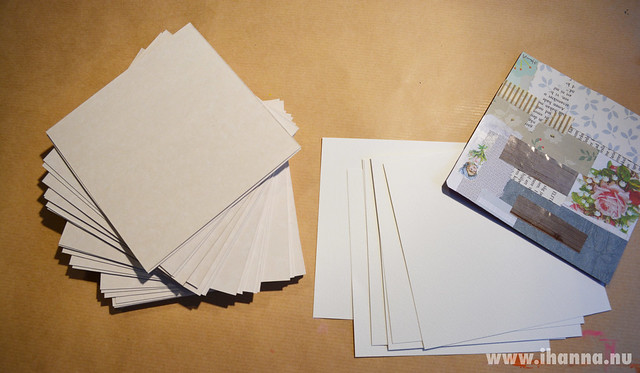
Cutting the substrate to the right (square) size is not very interesting or fun. This is why I do it in bulk, cutting a big pile at once and having it ready on top of my desk every day. I like seeing the pile, and knowing it is there. This makes it super easy to grab a paper and start.
If you have room enough it’s really great to have a dedicated area for this project. I have everything on my desk, and when working on other projects I clear it, but most of the time it’s been in view and in the limelight. This to me, says that it is an ongoing project. Something I have on my mind, at least a couple of times each week.
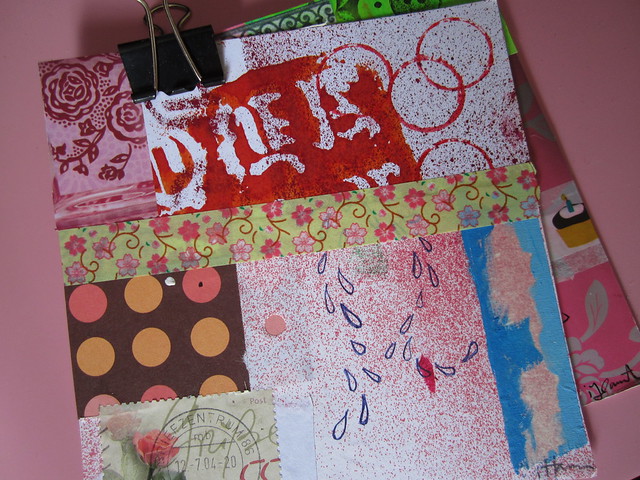
Sometimes I have started by just adding bits of paper that I thought would look nice together on top of the square. Arranging them in a compelling way but not gluing them down. The next day I fixate them, and once that is done I feel inspired to start a new collage. This is a way to inspire yourself for tomorrow. Other times I start from scratch and work through three collages at the same time. You can detect when this has happened, because I use the same bits of paper for several collages then.
Create a Work Flow
I love a good system that works for me. If part of your process can be systematized this will save you energy and time. The creative process can’t really be systematized, but other parts of being an artist can. Like filing, storing, cutting substrates in batches, sharing and documenting. When you recognize these parts you can create your system and everything will flow better. Then you don’t need to think too much on when, how and how much. You just do it, and the process has transformed from guesswork to habit!
This is what happens when I have created 7 new collages, each week:
* I date each artwork by writing (or stamping) the date when it was created on the back
* I scan each artwork and save it to the computer, in a folder of WIP
* Then I go in and re-name each of the scanned pieces in a manner that is most convenient for me. Tammy keeps track of her 365 Somethings (sewn collages) in a spreadsheet, but I keep track by naming each file by first date, then title. In this way I the are listed chronologically and it lets me see what I named each one (love that!)
* Then I upload all files to flickr, and make sure to tag them #365in2013 and to add them to the “set” 365 Collages I created there
* I grab each image’s html-code from flickr and add it to a new blog post named after the week they were created. I write something each week, and hit Schedule or Post it, depending on when I finish the post…
* Finally I move the named jpg-files from the WIP folder to a final storage on my computer, for keepsake.

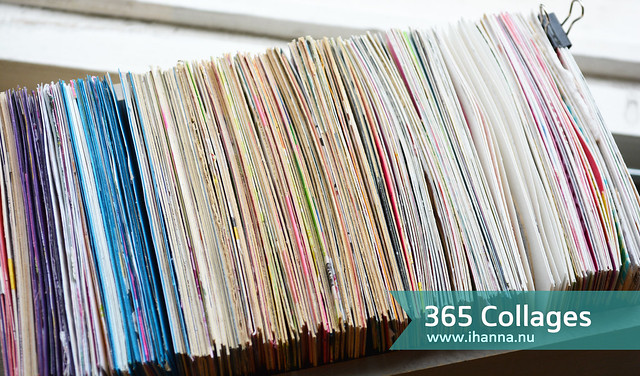
Signing and storing
I sign each collage’s front artwork, and also add a full name signature on the back, as well as stating the title there. Naming your artwork might not be necessary always, but to me it’s a fun part that I wouldn’t want to be without. I love coming up with titles that have hidden meaning or are funny (sometimes only to me). And by giving the collage its title I feel like I baptized it. Then I am ready to let it wander into the world. It completes the creative process for me. After that all that is left is filing the artwork away in the box.
You can see how I’ve been storing the 365 project here.
Organizing collage papers
If you are into collage I recommend you get a Scrap inbox on your desk – it’s my favorite tool because it both helps me be organized and have a clean desk plus bonus, bonus; it inspires me!
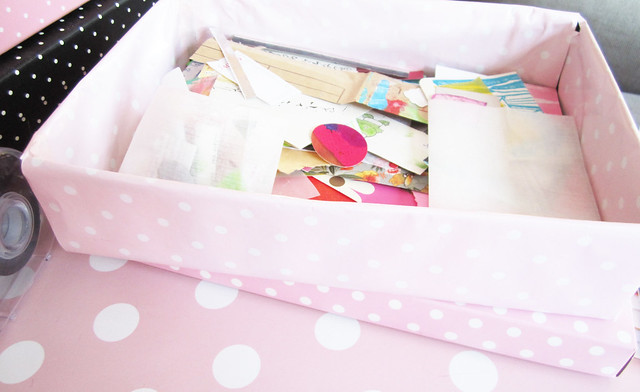
My Scrap Inbox looks like this. Find the tutorial here.
I will not get into how you organize your collage material further, because you have to create your own feel for what will work for you. Give it time, because it takes time!
I sort and re-sort several times each year. I sort to find inspiration too, and sorting truly is a great way to get work done.
Make it stress free
To make your project stress free, be sure to be organized enough that
– you know where your things are
– there is time in your week for creating
– you can find what you need in your space
– your space feels inspiring to you
Also be organized with keeping track of where you are in your project. If you want to create 365 pieces of art, like me, you need to make sure that you are on track. I almost panicked when I thought I had missed a whole week and had 14 collages left instead of eight. Lucky enough I made a mistake when counting, so I was on track. Phew!
Finally:
Be aware of the Drawbacks of a yearly project
Soon it will be time to wrap up my year long project and finish the last of the 365 collages. Many of you have been asking if I will do it again in 2014, and the answer is no, I will not. No matter how much I’ve enjoyed creating, naming and posting these collages there are several drawbacks from this kind of project too.
 The biggest drawback, for me, is of course that such a big project takes away time from other things in your life, even other creative projects. I have missed stitching and art journaling a lot this year. At times I also missed having the freedom to do what ever creative project I felt like. But I especially have missed embroidery, because it has been so totally absent in my life.
Sometimes I have been tired of making collages, and wanted to quite. Somehow I have found ways to inspire myself.
Creating a weekly habit is awesome and yields productivity beyond what you first imagine, but during the year maybe only in the focus area. At least this was true for me, because I wanted to make real art – not quick journal pages or doodles.
“A quick collage” takes me 15-30 minutes to create, 5 minutes to scan and edit, 3 minutes to title, tag, and put into the blog. That’s 23 minutes times seven! 161 min = 2,7 hours. And that’s the minimum each week. Some collages take more time to finish than that. I’d say this process is about 4 to 5 hours each week. This time estimation does not include cleaning the desk, sorting collage papers, writing the blog post, reading your lovely comments on those posts or even cutting the substrates. You can actually combine your quantity goal with a time limit goal. For example decide that you can only use five minutes per card, set the timer and go! This will make the exercise into a warming up thing instead of a big art project.
There are pro and cons to everything. Overall I am very happy to have embarked on this journey. If I hadn’t enjoyed it so much I wouldn’t have finished it.
I hope this has inspires you in some way. Let me know in the comments what your plans are. I’d love to know!
This is a post in my series 365 Collages in 2013, thank you for reading!
Also in the 365 Inspiration Series
- Plan Your Own 365 Project
- About my Creative Process
- All 365-posts in order of appearance
- How to keep Organized with a 365 Project

This post inspired me to rethink my commitment to a 365 project. I’d really hate to lose time for embroidery and other general crafting. Plus it kills me to think of having to take at least 3 hours a week to work on something when honestly there are some weeks I’d just rather be working on something else- or nothing at all!
Maybe instead of a 365 project I should focus more on putting some time aside each week for arts and crafts. I’m generally off work on Sundays so maybe I should make it a goal to work on my studio every Sunday for a couple hours on one thing or another.
Oh no Erica, it was not my intention to scare you with this post! :-/ I should maybe have written a bit about the fact that I think of my collages as artwork – not as a practice or simple doodle this year. I did what I called Daily Art Cards a previous year, and then it was just anything on a card. They were quicker and “just for fun”, like doing the index card challenge. It doesn’t need to be as elaborate!
Hanna,
I’ve been following your blog and you 365 project. I really value your blog. It is uplifting and inspiring. Thank you! As you’ve worked on you 365 collages, your work has developed in a truly remarkable way. I hope that you are able to take the time to go back through these images and see the progress and evolution of your design. It will be interesting to see what filters through to your embroidery! Thank you so much for sharing your work and your process!
Lauren
Great post Hanna! I was wondering if you are planning any projects for the coming year ? Something that the blog followers can do alongside and then share online….
I’m glad you are sharing some of these helpful hints. I’m going to be doing a 365 project this year and all of these posts are very informative. I like your idea of setting a time limit for each days artwork too. That is a good way to keep it all contained somehow and not let it get out of control.
Great tips for planning, organizing, and executing projects, Hanna! I know for certain that I could never do a 365 project, but it might be fun to do a 52 project. Once weekly is discipline enough for this creative soul! Your collection of collages is so impressive and YUMMY! You have much to show for your dedication.
I’m glad you were able to enjoy your year of collages! My calendars seem to be a bit similar to them. I try to work on them daily and they are even quicker than an “index card” but I collage, paint and draw in little boxes. You have probably seen some before. I was interested in how you organize your paper; I do a similar thing but have multiple boxes and sizes and folders for different colors and sizes. Hope to get even more organized in the months to come. Enjoyed following you. {:-Deb
i’m going to give it a try for next year. I have started gathering things here and there to be organized but I really appreciate the suggestions you mentioned here!
thanks so much .happy holidays and wishing you a creative 2014!!!
what will you do with this collection?
Ha, no idea… Find a bigger apartment perhaps.
What would you do with 365 pieces of art? Any suggestions? :-)
I haven’t read everyone’s comments, so perhaps someone else has suggested this? I bought a ream (500 sheets) of the heaviest cardstock available at an office supply stor’e in town…then took it to Kinko’s (a printing store) and had them cut the entire ream in the 4×4 size I wanted. That left the remnants and I had those bound (with a rubber cement) into pads. That gave me perfectly uniform collage sheets and wonderfully sturdy note pads!
Hello sweet overseas friend, I love your posts! Keep us in “blog land” up to date with you.
-North Florida; USA