When someone I know are really creative and does cool things I sometimes have to share that on my blog though I primarily blog about what I create and do here. I’ve blogged many times about my quilting mom and her creations and mentioned my cousin Charlotta and her beautiful Sculptural Lamp before. Now we’re back with another school project from Charlotta!
It’s a inspirational quilt with lots of photos that I call The Landscape Quilt. She came to me with the background fabric, the idea and found photos printed and ironed to fabric.
We put it together in 1.5 day and today I thought I’d show you how to make a Photo Inspiration Quilt on your own, weather you are Landscape Architect or not! I want to make one for me too, but it took a lot of time to make it, so I will store it in my pile of great ideas one day to be…
1. Chose a theme. Our theme is nature – inspiration for a landscape/garden. Yours could be your own garden, your family, knitting (adding yarns too), kids, postcards and letters that you scan and print, artists you admire, rainbow colors or a collection of photos from a trip or holiday. Anything, the sky is the limit!
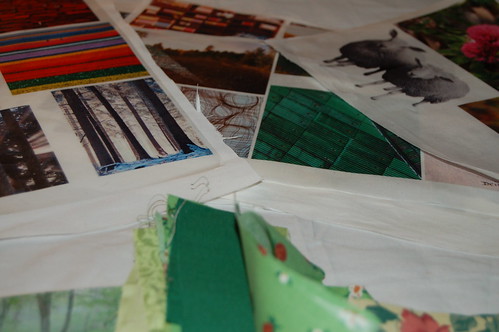
2. Print your photos onto fabric in some way (there are a lot of products to chose from) and cut them all out.

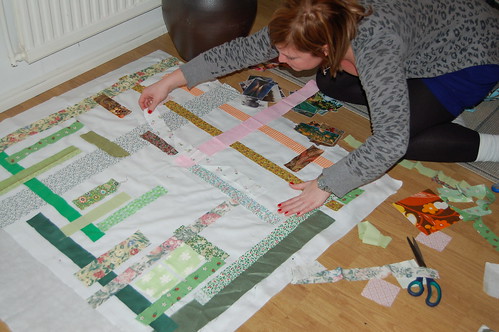
3. Background fabric. Plain white or very light is good if you want your photos to “pop”. Though we thought that just adding the photos would be a bit boring and “photo album like” so we decided to add already (rotary) cut fabric strips to add a bit of color. The stripes are mostly nature greens and soft colors.
4. Pin each fabric strip down and start sewing.
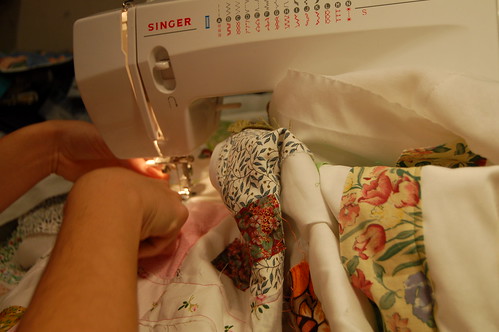
Trying to fit a quilt into a regulare sewing machine is, as you might know, hard! It’s a lot of work, turning, sewing, moving all that fabric through and then sewing again. Drink water, take breaks.

5. Place the photos where you want them! After all the background stripes were attached we went back to “the drawing table” ie. the floor, and added another layer – the photos printed on fabric.
-Where should this one go, where does that one fit in? Some where left out, all couldn’t fit!

Photos on fabric – yummy inspiration!
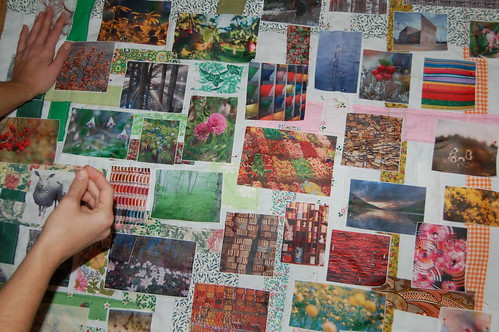
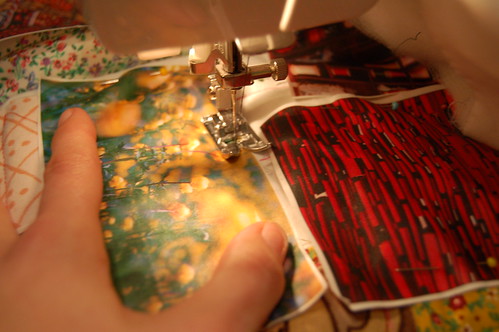
6. Pin the photos in place. I think I’ve mentioned this before, but there are special needles for quilting. They are longer and have bigger heads. They are great for when you pin together several layers to quilt together. We added the batting at this stage too, so when attaching the photos with a straight stitch on the sewing machine we also quilted the layers together!
7. Time to sew again!
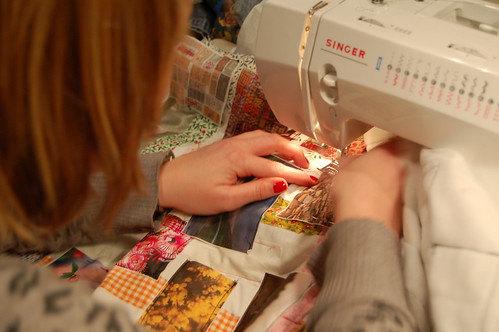
We took turns sewing, because there were lots of images and wrestling with the fabric.This is my cousin doing some serious stitching on the sewing machine.
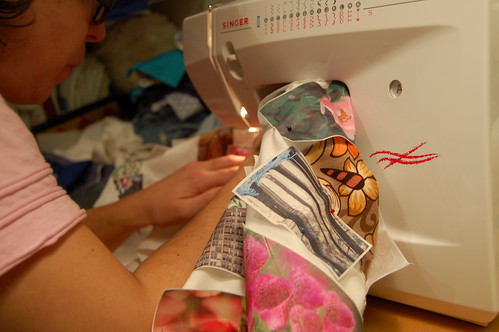
Then I had a go at it, sewing some:
And this is where we decided to take a beak for the day and eat something. I hope you will be inspired to make your own photo quilt! I will post the finishing result photos of the Landscape Quilt next week!
If you want to sign up for the DIY Postcard Swap do it right now, I will close it a bit earlier than announced because I’m going away this week end. Sign up ends Thursday night! Check out the tumblr blog Good Mail Day for postal inspiration!

Wonderful, inspiring and playful. Can’t believe even the two
of you could accomplish in 1.5 days….
You are all so wonderfully talented !!! What a beautiful quilt !
Is there a pic of the finished item?
What an achivement!!!?Making a smaller version may bve a cute idea
WOW! THat looks like it took a lot of time. I love it!
Ooh, how pretty! I love how you all had to take turns sewing to get it finished, lol. Sounds like it was a marathon!
I would like to try this in a (much!) smaller version. =c)
Oh, vilken rolig variant p? lappt?cke! Tror jag ska l?na den d?r iden om att sy fast lapparna p? ett tyg ist?llet f?r att sy ihop alla de sm? lapparna till ett stycke… det k?nns lite som ett ngt f?r stort projekt just nu…
I’m new to quilting and wash wondering what you did with the edges of the photo fabric when sewing it to the background fabric. Thank you!